Making stock from the turkey carcass is a rewarding way to extend the value of your holiday bird. The process captures the deep, savory flavor left on the bones and turns it into a rich base for soups, stews, and gravies. This guide walks you through the entire process, from breaking down the carcass to safely storing the finished stock.
What You Need
Equipment
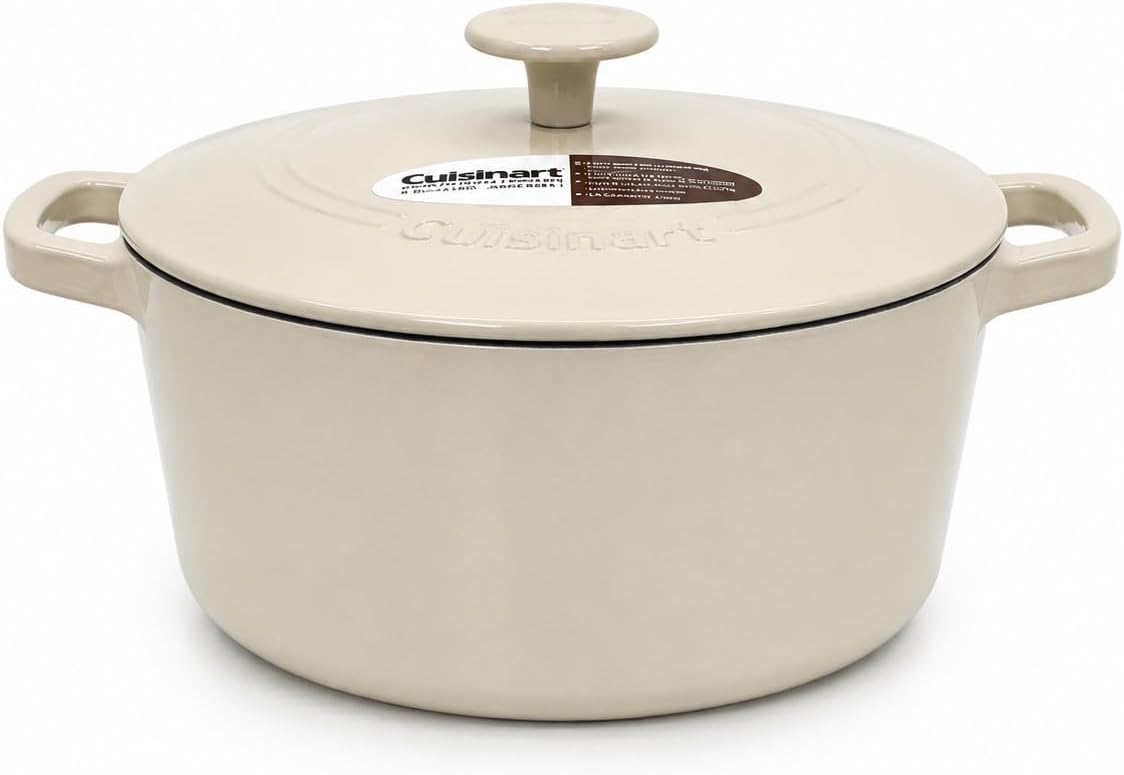
A large stockpot is the most important piece of equipment for this job. A dedicated stockpot is tall and narrow, which minimizes evaporation and makes skimming easier. A stock pot is ideal for holding the entire carcass. You will also need a sharp knife or kitchen shears for breaking down the bones. A fine mesh strainer is essential for producing a clear stock, though a colander lined with several layers of damp cheesecloth can work in a pinch. Finally, have a large heatproof bowl or container ready to catch the strained stock, along with shallow storage containers for rapid cooling. Learn more about choosing the right vessel in our guide to stockpots and large pots for holiday cooking.
Ingredients
The main ingredient is the turkey carcass itself, including any leftover skin, wing tips, and the backbone. Aromatics are crucial for a well-rounded flavor. A classic mirepoix of roughly chopped onions, carrots, and celery forms the savory base. Add a few cloves of garlic, a couple of bay leaves, several sprigs of fresh thyme, and a teaspoon of whole black peppercorns. Do not add salt to the stock, as it concentrates during simmering and can make the final dish too salty. Use enough cold water to cover the bones by about an inch.
Step-by-Step Instructions
1. Break Down the Carcass
Once the main meal is finished, remove any large remaining pieces of meat from the carcass for another use, such as sandwiches or a turkey salad. Use your knife or shears to cut the carcass into manageable pieces. Separate the legs, thighs, and wings from the backbone. Cut or break the rib cage into a few sections. Breaking down the carcass allows it to fit easily in your stockpot and increases the surface area exposed to the water, which leads to better flavor extraction.
2. Decide on Roasting (Optional)
If your turkey was roasted, the bones are already browned and full of roasted flavor. You can proceed directly to the pot. For an even deeper, darker stock, place the broken-down bones in a roasting pan and return them to a hot oven until they are deeply browned. This extra step deepens the savory, roasted notes through the Maillard reaction. If you prefer a lighter, more delicate stock, skip the additional roasting.
3. Combine Ingredients in the Pot
Place the bones and any reserved skin or drippings into your stockpot. Add the roughly chopped aromatics. Pour in enough cold water to cover the solids by about an inch. Starting with cold water helps extract collagen and proteins gradually, leading to a clearer stock. Do not add salt at this stage.
4. Simmer, Do Not Boil
Place the pot over medium heat and bring it to a gentle simmer. A proper simmer is indicated by small, lazy bubbles occasionally breaking the surface. Once you reach this point, reduce the heat to low to maintain it. A hard, rolling boil will emulsify fats into the liquid, creating a cloudy, greasy stock. Maintain a gentle simmer for 3 to 4 hours. Poultry bones are relatively delicate and do not benefit from the long cooking times used for beef or veal stock.
5. Skim the Surface
During the first hour of simmering, a grayish foam and rendered fat will rise to the surface. This is a mixture of proteins and impurities. Use a wide spoon or a ladle to gently skim this off and discard it. Skimming is essential for producing a clear, clean-tasting stock. Adding a splash of cold water can help solidify the fat and make it easier to remove.
6. Strain the Stock
Set your fine mesh strainer over a large heatproof bowl or container. Carefully pour the contents of the pot through the strainer. For an exceptionally clear stock, line the strainer with a few layers of damp cheesecloth. Let the stock drain naturally; do not press on the solids, as this can force fine particles through the strainer and cloud the stock.
7. Cool the Stock Quickly
Food safety is a critical step. The stock must be cooled rapidly to prevent bacterial growth. Pour the strained stock into shallow containers, filling them no more than a few inches deep. Place the containers in an ice water bath, stirring the stock occasionally to help it cool evenly. Get the stock into the refrigerator within 2 hours of finishing, as USDA advises for cooked foods.
8. Store and Freeze
Once the stock is thoroughly chilled, transfer it to airtight containers. Leave a little headspace in each container to allow for expansion during freezing. Label the containers with the date. Refrigerated stock will keep for up to 4 days. For long-term storage, freeze the stock. It will maintain its best quality for several months. For easy portioning, freeze the stock in ice cube trays or muffin tins, then pop the frozen cubes into a freezer bag. You can also freeze stock flat in zip-top bags to save space.
Common Mistakes
Boiling the stock. This is the most common error. A hard boil will emulsify fats, making the stock cloudy and giving it a greasy, bitter taste. Always maintain a gentle simmer.
Adding salt too early. As the stock simmers and reduces, the salt concentration increases. This can result in an overly salty stock that limits its use in recipes. Always season the final dish instead of the stock itself.
Not skimming the foam. The scum that rises to the top during the first hour contains impurities. If left in the pot, it can break down and make the stock taste muddy and look unappealing.
Using too much water. Adding too much water dilutes the flavor. Use just enough cold water to cover the bones and aromatics by about an inch.
Troubleshooting
Cloudy Stock
Cloudiness is usually caused by boiling the stock or not skimming it properly. While it is perfectly safe to eat, it is less visually appealing. You can clarify a cloudy stock by straining it again through a cheesecloth-lined strainer or by using an egg white raft, a classic culinary technique where beaten egg whites are stirred into the cold stock, then the mixture is gently heated. The egg whites coagulate and trap the suspended particles, which can then be strained out.
Weak or Bland Stock
If your stock lacks depth, the bones may have been picked very clean, or you may have used too much water. Next time, try leaving some meat on the bones or adding a few chicken wings or backs for extra body. You can also concentrate a weak stock by simmering it uncovered to reduce the volume. Ensure you are using a generous amount of aromatics; a classic mirepoix is essential for a savory base.
Greasy Stock
A layer of fat on top of the stock indicates that it was not skimmed thoroughly during cooking. The easiest way to remove it is to chill the stock until the fat solidifies on the surface, then simply lift it off with a spoon. You can also use a fat separator pitcher for warm stock.
FAQ
Can I make stock from a raw turkey carcass?
Yes, you can. A raw carcass will produce a lighter colored, more delicately flavored stock. Roasting the bones first gives a deeper, richer flavor and color. The choice depends on your intended use for the stock.
How long should I simmer turkey stock?
A common rule of thumb is 3 to 4 hours. Simmering for longer can sometimes extract off-flavors from the bones. Poultry stock generally does not benefit from the long cooking times associated with beef stock. Taste it as it simmers to determine when it has reached the desired depth of flavor.
Can I add the turkey drippings to the stock?
Yes, deglaze your roasting pan with a little water or wine and pour those flavorful browned bits into the stock pot. This adds a tremendous amount of roasted flavor. However, be aware that drippings can be very salty and fatty, so you may need to skim more carefully and adjust your seasoning in the final recipe.
What is the best way to store large quantities of stock?
Freezing is the best long-term method. Cool the stock quickly in shallow containers, then transfer it to freezer-safe bags or containers. For easy portioning, freeze stock in ice cube trays or muffin tins, then pop the frozen cubes into a freezer bag. This allows you to use exactly the amount you need for a recipe.
Making turkey stock from the carcass is a simple kitchen task that pays dividends throughout the holiday season. With a good pot, a careful hand at the stove, and attention to food safety, you can create a versatile ingredient that will enhance your cooking for months to come. For more on outfitting your kitchen, explore our general cookware section and our guide to pots and stockpots.