 By Emily Parker
Updated November 2026
To decorate cookies for Christmas, you need cooled, flat-surfaced cookies, a simple royal icing or glaze, a few piping tools and enough drying time. Once you understand the basic outline-and-flood method, you can make classic designs like trees, stars and snowflakes that look polished without advanced skills. This guide walks through the process from start to finish.
Prepare Your Cookies and Icing
Start with cookies that are fully cooled, since even slight warmth will melt icing and cause bleeding. Use a sugar cookie or shortbread recipe that holds its shape; a dough that spreads badly will give you uneven surfaces. If you are new to baking from scratch, see How to Decorate Sugar Cookies for Christmas: A Step-by-Step Guide for a dough-to-finish walkthrough.
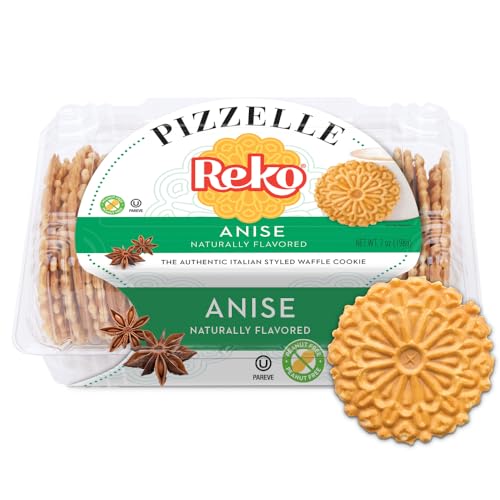
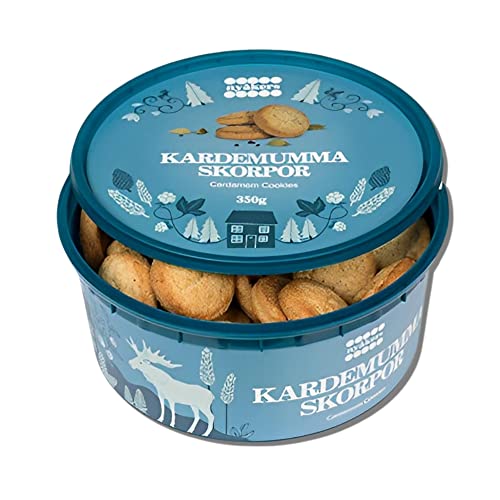
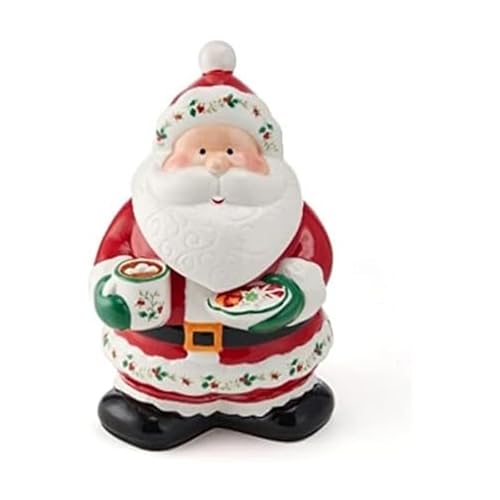
Shopping for one? See our guide: 6 Best Christmas Boxes for Cookies to Gift and Store (2026).
For royal icing, beat powdered sugar with meringue powder and water until the texture is stiff. Divide it into bowls and thin some portions to a flood consistency, which should flow off a spoon in a steady ribbon and settle smooth within about 10 seconds.
Outline and Flood Each Cookie
The outline-and-flood method is the foundation for most decorated Christmas cookies. Pipe a stiff border around the edge, let it set for a few minutes, then fill the interior with thinned icing.
- Pipe a border of stiff icing around the cookie edge with a small round tip.
- Let the outline set for 10 to 15 minutes so it holds back the flood icing.
- Fill the center with flood icing, using a squeeze bottle or piping bag with a small hole.
- Pop any air bubbles with a toothpick and gently nudge icing toward the edges.
- Let the cookies dry uncovered at room temperature for at least 6 to 8 hours before stacking or adding details.
Add Details and Designs
Once the base layer is firm to the touch, add details such as snowflake lines, tree ornaments or sprinkles. Use a contrasting color in a thin piping consistency for fine lines, and press sprinkles on while the icing is still wet. For ideas on patterns and color schemes, Decorate Christmas Cookies Ideas: 12 Designs and Step-by-Step Methods covers several options.
If you want quick results with fewer steps, try a simple glaze or a stamped sugar cookie. Shapes like stars and trees are forgiving, so they make good first projects. Star Cookies for Christmas: A Step-by-Step Guide to Baking and Decorating is useful if you plan to focus on one shape.
Tools Checklist
- Cooled cookies with flat tops
- Royal icing or glaze, tinted in batches
- Piping bags or squeeze bottles
- Small round tips (about 1 to 2 mm) for outlines and details
- Toothpicks for popping bubbles and guiding icing
- Sprinkles and edible decorations, added while icing is wet
- A clean, dry surface with room for drying trays
Common Mistakes and Tips
- Icing too thin: it runs over the outline. Test a spoonful and add powdered sugar a little at a time.
- Decorating warm cookies: icing slides off. Wait until they are fully cool.
- Stacking too soon: cookies can stick or dent. Allow a full night of drying for detailed work.
- Overfilling the bag: this makes control hard. Fill it about halfway.
- Skipping color tests: tinted icing often darkens as it sets, so check the color after drying.
Recommended gear
A set of disposable piping bags makes cleanup faster when you are working through a large batch. View on Amazon
Fine round piping tips give you clean outlines and small details without changing bags. View on Amazon
Squeeze bottles are handy for flood icing, since they control flow more evenly than a bag. View on Amazon
FAQ
How long does royal icing take to dry on Christmas cookies?
Royal icing typically needs 6 to 8 hours at room temperature to dry enough for light handling. For fully hardened icing suitable for stacking, many bakers allow a full 12 to 24 hours.
Can I decorate Christmas cookies a day ahead?
Yes. Decorated cookies keep well for several days when stored in a single layer in an airtight container at room temperature. Keep them away from humidity, which can soften the icing.
What if my icing bleeds into the outline?
This usually means the flood icing is too thin or the outline has not set long enough. Let the outline dry a few more minutes, then thicken the flood icing with a little more powdered sugar.
Conclusion
Decorating Christmas cookies comes down to cool cookies, the right icing consistency and patience during drying. Master the outline-and-flood method first, then add details as your confidence grows. With a little practice, your holiday platters will look as good as they taste.
Related reading
- Mini Christmas Cookies Cutters: Sizes, Shapes and How to Use Them
- Easy to Decorate Christmas Cookies: A Step-by-Step Guide for Beginners
- Decorate Cookies for Christmas: A Step-by-Step Guide for Beginners
- Christmas Cookies Store Bought: How to Choose, Upgrade and Serve Them (2026)
Ready to choose one?
About Emily Parker
Emily Parker is part of our editorial team and reviews and edits our holiday cooking & baking guides, checking product details against manufacturer specifications and owner feedback.