By Emily Parker
Updated November 2026
Easy to decorate Christmas cookies come down to three things: a dough that holds its shape, a royal icing with the right consistency, and a plan that lets each layer dry before the next one goes on. This guide walks you through each step so your first batch looks festive without turning into a full-day project. You will end up with cut-out cookies that are sturdy, evenly colored and simple to finish.
Start with a dough that holds its shape
Most decorating frustration starts with spreading dough. A cookie that puffs or softens in the oven loses its outline, and the icing has nowhere to sit neatly. Use a sugar cookie dough with a higher flour ratio and chill it well before cutting.
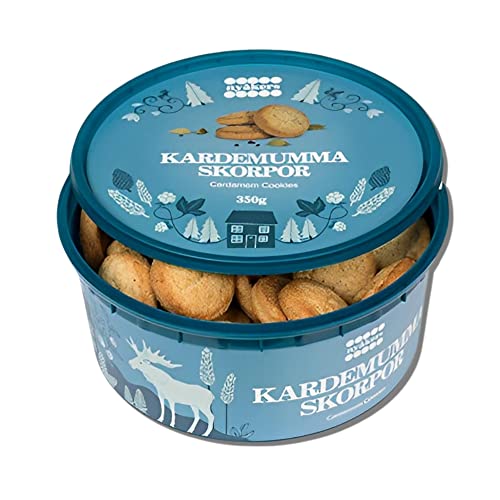
Shopping for one? See our guide: 6 Best Christmas Boxes for Cookies to Gift and Store (2026).
- Cream 1 cup (2 sticks) of softened butter with 1 cup of sugar until light, about 2 minutes.
- Beat in 1 egg and 1 teaspoon of vanilla extract.
- Add 3 cups of all-purpose flour and 1/2 teaspoon of baking powder, mixing just until combined.
- Divide the dough in half, flatten each piece into a disk, wrap and refrigerate at least 1 hour.
Roll the dough to about 1/4 inch thick between two sheets of parchment. Chill the cut shapes for 10 minutes on the tray before baking, which keeps edges sharp. Bake at 350°F until the edges are just golden, usually 8 to 10 minutes depending on size.
Make a royal icing you can control
Royal icing is the backbone of easy decorating because it dries hard enough to stack and pipe. Work with two consistencies: a thick icing for outlines and a thinner “flood” icing for filling in the shape.
Basic royal icing
- Beat 3 tablespoons of meringue powder with 4 cups of powdered sugar and 6 tablespoons of water on low speed for 1 minute.
- Increase to high and beat 5 to 7 minutes until stiff peaks form.
- Scoop out about one-third and thin it for flooding by adding water a few drops at a time.
Testing consistency
Drag a knife through flood icing and count how long the line takes to close. Around 10 to 15 seconds is right for most designs. Outline icing should hold a defined edge when piped.
Outline, flood and let each layer set
Decorating goes faster when you treat it as stages. Pipe an outline with the thick icing, let it set for about 15 minutes, then flood the center with the thinner icing. Use a toothpick to pop air bubbles and nudge icing into corners.
Allow the base layer to dry for at least 2 hours, or overnight for stacked or detailed designs. Adding a second color before the first has set will cause bleeding, so resist the urge to rush.
Checklist for your decorating session
- Cookies baked, cooled completely and checked for sharp edges
- Two icing consistencies prepared and covered with damp cloth or plastic
- Piping bags or squeeze bottles, with small round tips
- Gel food coloring in a few shades
- Toothpicks for popping bubbles and smoothing corners
- Sprinkles or edible decorations added while the icing is still wet
Common mistakes to avoid
- Icing warm cookies, which melts the icing and causes spreading.
- Making icing too thin, leading to runny edges and long drying times.
- Skipping the chill step, which makes cut shapes lose detail in the oven.
- Using liquid food coloring, which can thin the icing and dull colors.
- Stacking cookies before the icing is fully dry.
Recommended gear
A set of small round piping tips gives you clean outlines without a lot of practice. Search for small round piping tip set to compare options. View on Amazon
Gel food coloring holds its intensity in icing better than liquid drops. View on Amazon
Disposable piping bags keep cleanup simple when you are working through several colors. View on Amazon
FAQ
Do I need meringue powder for royal icing?
Meringue powder makes royal icing more stable and safer to use than raw egg whites. Many bakers use it for cookies that will be stored or shipped. Consult a food safety resource if you plan to use raw egg whites.
How far ahead can I decorate Christmas cookies?
Baked dough can be frozen for up to 3 months, and fully decorated cookies stay fresh in an airtight container for about a week. Let the icing dry completely before storing.
Why do my icing lines bleed into each other?
Bleeding usually happens when a new color goes on before the base layer has set. Wait at least 2 hours for the first layer to dry before adding details.
Conclusion
Easy to decorate Christmas cookies depend on sturdy dough, two icing consistencies and patience between layers. Once you have the rhythm, each batch gets faster. For more ideas, see Decorate Cookies for Christmas: A Step-by-Step Guide for Beginners and Decorate Christmas Cookies Ideas: 12 Designs and Step-by-Step Methods.
Related reading
- Vegan Cookies for Christmas: A Step-by-Step Guide to Holiday Baking
- Trays of Christmas Cookies: A Step-by-Step Guide to Planning and Arranging
- Thumbprint Cookies for Christmas: A Step-by-Step Guide to Baking Them
- Sugar Cookies Pillsbury Christmas: A Step-by-Step Guide to Holiday Baking
Ready to choose one?
About Emily Parker
Emily Parker is part of our editorial team and reviews and edits our holiday cooking & baking guides, checking product details against manufacturer specifications and owner feedback.