By Claire Pierce
Holiday silicone baking molds let you turn ordinary batters, chocolate and cookie dough into shaped treats like snowflakes, reindeer, bells and mini pies without special pans or cutters. This guide walks through how to pick the right holiday silicone baking molds, prepare them so nothing sticks, fill and bake them correctly, and clean them so they last through several seasons. You will also get a timeline you can follow if you are making a big batch of treats for the holidays.
Why Silicone Molds Suit Holiday Baking
Silicone is flexible, nonstick and heat resistant, which makes it a natural fit for seasonal shapes with fine details. Because the mold flexes, you can pop out a delicate gingerbread man or a chocolate Christmas tree without tearing it. Most silicone molds are rated for oven temperatures in the range of roughly 428°F to 480°F, and many are also freezer safe, which helps when you are making candy or frozen desserts ahead of time. Check the manufacturer’s stated temperature limit before you use any mold in the oven, since ratings vary by product.
Silicone does have trade-offs. It is lightweight, so a filled mold can flop if you try to carry it without support. It also does not conduct heat as well as metal, so cookies and cakes in silicone often need a few extra minutes and sometimes a lower oven setting to brown properly. Plan for both of these from the start.
Step 1: Choose the Right Molds for Your Recipes
Start by matching the mold to the recipe. Not every batter works in every mold, and the wrong combination is the most common reason holiday treats come out misshapen or undercooked. For a deeper look, Best Silicone Baking Mats covers this in detail.
- Cookie and shortbread dough: Choose molds with shallow, clearly defined details. Dough that is too soft will spread and lose the pattern. Chill dough before pressing it in.
- Cake and muffin batter: Look for molds with a capacity you can fill about two-thirds full. Mini cake molds and bundt-style shapes work well.
- Chocolate and candy: Thin, flexible molds with deep detail release best. Use tempered or well-set chocolate, and do not pour it into a warm mold.
- Ice, gelatin and frozen treats: Choose molds labeled freezer safe and pick shapes with a flat base so they stand upright in the freezer.
When you shop, pay attention to the mold’s wall thickness and whether the mold sits on a rigid tray. Thicker walls hold their shape better; a sturdy baking sheet underneath prevents sagging and makes transfers safer.
Step 2: Gather Your Tools and Supplies
Having everything ready before you start keeps the process smooth, especially when you are making several batches in one afternoon.
- A rimmed baking sheet or sheet pan for stability (see Baking Sheets and Sheet Pans: Sizes and Materials for Holiday Baking for sizing guidance).
- A kitchen scale, so each cavity gets a consistent amount of batter or dough.
- A small offset spatula or bench scraper for leveling the tops.
- A cooling rack for releasing and finishing baked pieces.
- A food-safe nonstick spray or light brush of neutral oil, if the recipe calls for it.
- An instant-read thermometer if you are working with chocolate or sugar.
Weighing your batter is more accurate than filling by eye. If you are new to this, Kitchen Scales for Baking: Why Weighing Beats Cups explains why weight gives more consistent results than volume.
Step 3: Prepare the Molds Properly
Silicone is nonstick, but it is not always nonstick enough on its own, especially for sugary doughs or sticky caramel. Preparation makes a visible difference.
- Wash new molds in warm, soapy water and dry them completely. Manufacturing residue can affect release.
- Set the mold on your baking sheet before filling so it does not shift.
- For cookies, cakes and candy that stick, lightly coat each cavity with nonstick spray or a thin layer of oil. Wipe away any pooled oil so it does not make the bottoms greasy.
- For chocolate, a very light dusting of cocoa powder or a thin brush of neutral oil can help with release, but test a single cavity first.
- Let the mold come to room temperature if it has been stored in a cold area, since cold silicone is stiffer and harder to fill neatly.
Step 4: Fill and Level the Molds
Fill each cavity evenly. For cakes and muffins, aim for about two-thirds full so the batter has room to rise. For cookie dough, press firmly into every detail with your fingers or a small tool, then scrape off the excess flush with the top. For chocolate, pour slowly, tap the tray on the counter to release air bubbles, and scrape the surface level.
Work in small batches if you are making many shapes. Letting filled molds sit at room temperature for a long time can cause cookie dough to soften and lose definition, so fill, bake and rotate in manageable groups.
Step 5: Bake, Freeze or Set, Depending on the Recipe
Different recipes need different finishing methods. Use these general guidelines and always follow your recipe’s specific times.
| Treat | Method | Typical notes |
|---|---|---|
| Cookies and shortbread | Bake on a flat sheet | Reduce oven temperature slightly and check early; silicone browns more slowly than metal. |
| Mini cakes and muffins | Bake, then cool in the mold | Cool 10 to 15 minutes before inverting so the crumb sets. |
| Chocolate shapes | Refrigerate until firm | Chill until fully set, then release gently by pressing from the back. |
| Ice and frozen treats | Freeze upright on a flat tray | Allow several hours to fully freeze before unmolding. |
For cookies, let the pieces cool on the sheet for a few minutes, then transfer them to a rack. Because silicone stays warm, the pieces continue to bake slightly after you remove them, so pull them out when they look just set rather than fully browned. Chocolate and candy should be fully firm before you try to remove them, or they may crack or smear.
Step 6: Release, Cool and Store
Release baked goods by gently pushing the mold from the underside rather than pulling at the edges. For delicate pieces, cool in the mold for a few minutes, then invert onto a rack. Store finished treats in airtight containers once they are completely cool. If you are making them several days ahead, How to Freeze Holiday Baked Goods covers which items freeze well and how to thaw them without losing texture.
Step 7: Clean and Store the Molds
Wash molds in warm, soapy water after each use. Use a soft sponge rather than an abrasive scrubber, which can scratch the surface and make it hold odors or sticky residue. Dishwasher-safe molds can go on the top rack, but hand washing extends their life. Dry completely before storing, and stack them with a sheet of paper between layers so the detail is not pressed flat.
Common Mistakes
- Skipping the baking sheet. Silicone molds are floppy when filled. Always place them on a rigid tray before you move them.
- Overfilling. Batter that overflows the cavities sticks to the rim and can make the mold harder to release.
- Using the highest oven temperature the mold allows. High heat can brown the outside before the center is set. Use a moderate temperature and extend the time.
- Unmolding too soon. Warm cakes can crumble and chocolate can smear. Give each treat time to set.
- Cutting with knives in the mold. Sharp tools can nick the silicone and damage the detail.
- Ignoring the temperature rating. Some molds are made for freezing but not for high oven heat, and some are the reverse. Check the label.
Tips for a Smooth Holiday Batch
- Test one cavity before filling the whole mold, especially with a new recipe or a new mold.
- Chill cookie dough briefly so the details hold during baking.
- Keep a second mold ready. While one batch bakes, you can fill the next, which keeps production steady.
- Label molds by shape and size if you own many similar ones. It saves time when you are matching sizes to recipes.
- If you are making a large amount of baked goods, a well-organized pantry and tool setup helps; see Organizing the Pantry Before Holiday Baking Season for ideas.
Recommended gear
These supporting tools make holiday silicone baking molds easier to use. Choose the type that fits your recipes and the amount of baking you plan to do.
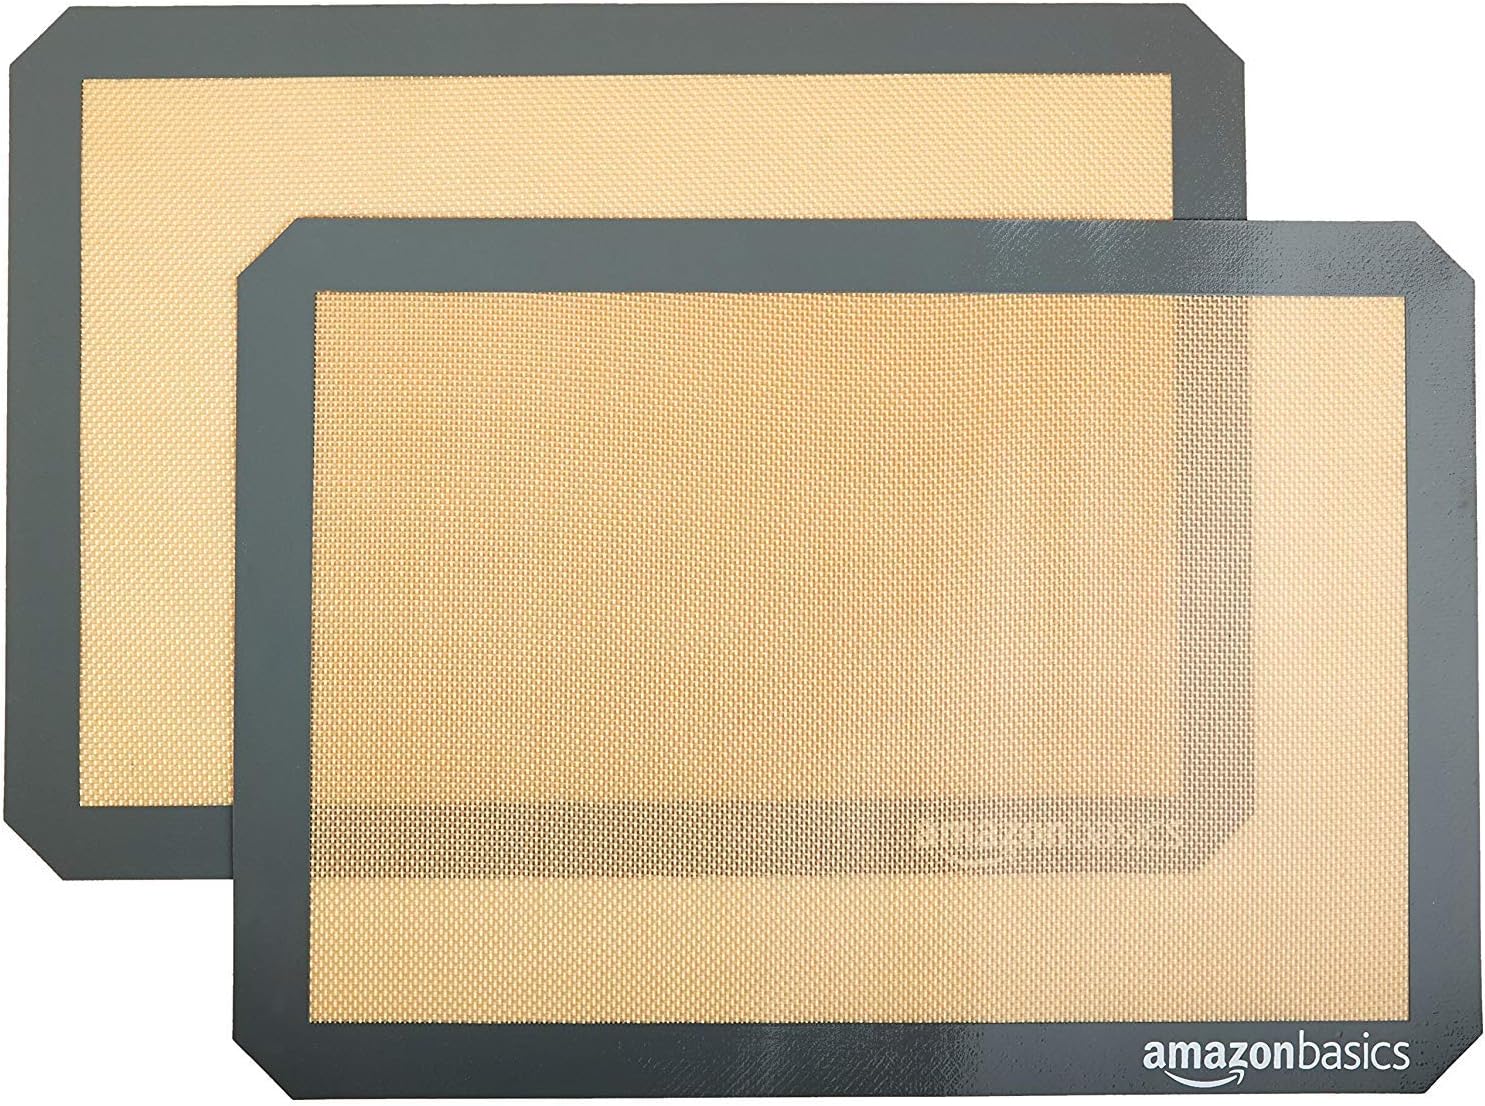
- Silicone baking mat or liner: A flexible liner keeps sheet pans clean and works alongside molds. Silicone Baking Mats vs Parchment Paper compares the two options. View on Amazon
- Rimmed sheet pan: A sturdy sheet pan gives molds the support they need when you move them in and out of the oven. View on Amazon
- Digital kitchen scale: Weighing batter and dough keeps each cavity consistent in size and bake time. View on Amazon
- Offset spatula: A thin, flexible blade is ideal for leveling batter and lifting delicate pieces off the mold. View on Amazon
FAQ
Do I need to grease holiday silicone baking molds?
Usually not for simple recipes, since silicone is naturally nonstick. For sticky doughs, sugary cookies or caramel, a light coat of nonstick spray or oil makes release easier. Always test one cavity first.
What oven temperature should I use with silicone molds?
Check the manufacturer’s stated maximum temperature for your specific mold. Many are rated in the range of about 428°F to 480°F, but you should follow the label. Because silicone heats more slowly than metal, many bakers lower the oven temperature slightly and extend the baking time.
Can I put silicone molds directly on the oven rack?
It is safer to place them on a rigid baking sheet. Silicone is flexible, so a filled mold can sag or spill if it is not supported. A sheet pan also makes it easier to move the mold without spilling.
Can I use silicone molds for chocolate?
Yes. Silicone is a common choice for chocolate shapes because it releases well once the chocolate is firm. Use properly tempered chocolate for the shiniest finish, and chill the mold until the chocolate is fully set before removing it.
How do I keep silicone molds from smelling or staying greasy?
Wash them promptly after use in warm, soapy water and dry them fully. If you use oil or spray, wipe off any excess before baking. Avoid cutting food inside the mold, and do not store damp molds.
Are silicone molds safe for food?
Food-grade silicone is widely used in kitchens. Buy molds from reputable makers, check that they are labeled food safe, and follow the temperature limits on the packaging. If you have specific health concerns about materials, consult a healthcare professional or the manufacturer.
Why did my cookies come out flat in the silicone mold?
Dough that is too warm or too soft will spread and lose detail. Chill the dough briefly before pressing it into the mold, and avoid overfilling. Also check that your leavening measurements are accurate.
How long do silicone molds last?
With regular washing and careful storage, good-quality silicone molds can last for many seasons. Replace a mold if it becomes sticky, discolored, torn or no longer holds its shape.
Conclusion
Holiday silicone baking molds make it simple to produce shaped cookies, cakes, chocolates and frozen treats that look festive. Choose molds that suit each recipe, prepare and fill them carefully, bake or set them at a moderate temperature, and clean them well after use. With a little planning, you can turn a single afternoon into a full tray of seasonal treats.
Related reading
Ready to choose one?

About Claire Pierce
Claire puts together our holiday cooking & baking guides, digging through specifications, manufacturer details and owner reviews so you don't have to.