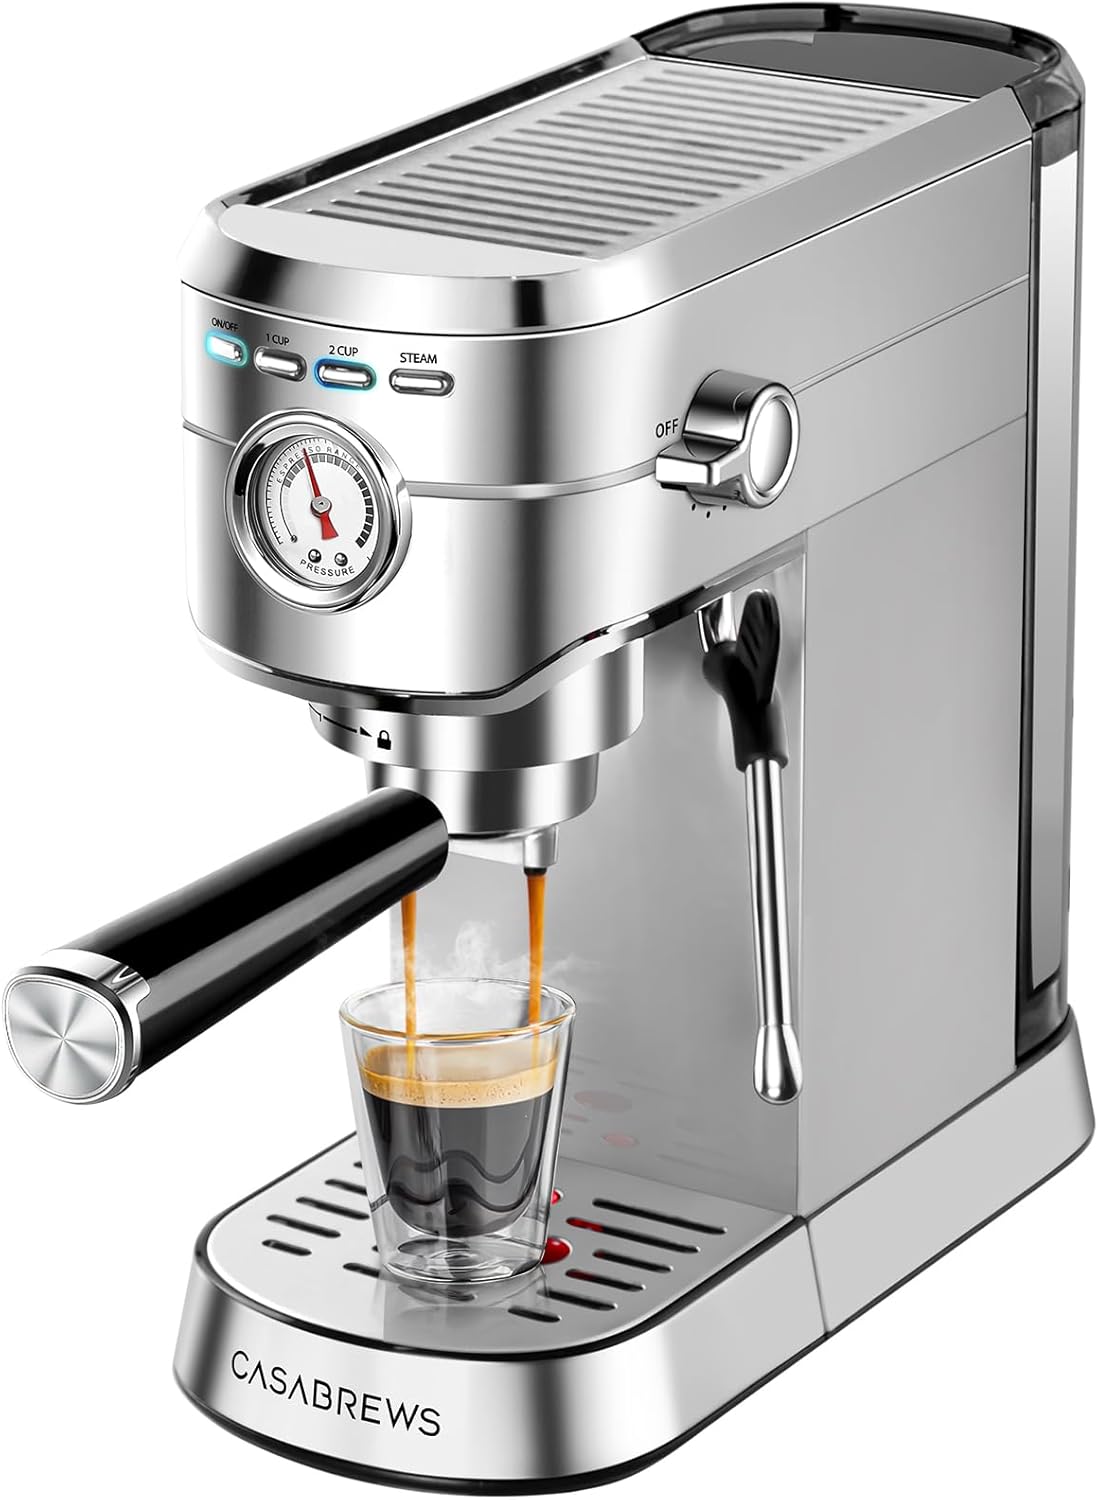
Frothing milk at home is the gateway to making cafe-quality coffee drinks in your own kitchen. For a latte, cappuccino, or flat white, the quality of your foam makes the drink. You do not need an expensive espresso machine to get started. Simple tools like a handheld frother or a French press can produce excellent results. This guide covers the most effective methods for frothing milk, how to choose the right milk, and the techniques for achieving the perfect foam consistency for your favorite coffee drinks.
Ways to Froth Milk at Home
There are several ways to froth milk, each with its own trade-offs in convenience, cost, and texture. The main categories are handheld battery-powered wands, automatic electric frothing jugs, steam wands on espresso machines, and manual methods like the French press or a simple jar. Your choice will depend on how often you make coffee drinks, your budget, and how much counter space you have. For holiday entertaining, an electric frother can save you time, while a handheld wand is perfect for a quiet morning treat.
Handheld Milk Frothers
A handheld milk frother is a small, wand-like device that uses a rapidly spinning whisk to incorporate air into warm milk. It is one of the most affordable and space-efficient tools for frothing. To use one, heat your milk in a microwave-safe container or on the stovetop until it is steaming. Submerge the frother just below the surface of the milk. Turn it on and move it gently up and down until the milk doubles in volume and a thick foam forms. For the best results, use a narrow, tall container to prevent splashing. Tilt the frother slightly to create a vortex that pulls air into the milk. handheld milk frothers are widely available and easy to store in a kitchen drawer, making them a great choice for occasional use.
Electric Milk Frothers
An electric milk frother is a countertop appliance that automates the process. You pour in cold milk, select a setting, and it heats and froths the milk to a preset consistency. Many models offer a cold froth setting for iced coffee drinks, as well as settings for dense cappuccino foam or silky latte microfoam. The resulting foam is consistent and requires no active effort, which is ideal when you are multitasking during a holiday meal prep. electric milk frothers are ideal for households where multiple coffee drinks are made daily. They often have a non-stick interior and a whisk attachment that is easy to clean. Pay attention to the maximum fill line to avoid overflow.
Frothing with a Steam Wand
If you own an espresso machine, the steam wand is the professional standard for creating microfoam. The technique involves submerging the steam tip just below the surface of cold milk to stretch the milk, then sinking it deeper to heat the milk and incorporate the foam into a silky texture. This method gives you the most control over the texture of your foam, which is essential for latte art. The key is to introduce air only at the beginning of the process. Once the milk feels warm to the touch, stop stretching and focus on incorporating the bubbles. When choosing a coffee maker, consider the type of steam wand it has. A panarello wand is easier for beginners, while a traditional wand offers more control for advanced techniques.
No-Gadget Frothing Methods
You do not need any specialized equipment to froth milk. Two common manual methods use tools you likely already have in your kitchen. These are excellent for camping, power outages, or when your usual frother is being cleaned.
French Press Method
Heat your milk on the stovetop or in the microwave until it is steaming. Pour the hot milk into a French press, filling it no more than halfway. Place the lid and plunger on, and pump the plunger up and down vigorously for about 15 to 30 seconds. The fine mesh screen forces air into the milk, creating a thick, stable foam. The more you pump, the denser the foam becomes. Pour the frothed milk immediately into your coffee. This method works best with whole milk or barista-style oat milk.
Jar Shaking Method
Pour cold milk into a clean jar with a tight-fitting lid. Fill the jar no more than halfway to leave room for expansion. Shake the jar as hard as you can for about 30 seconds, until the milk has doubled in volume. Remove the lid and microwave the open jar (only if it is microwave-safe glass) for about 30 seconds to stabilize the foam. The heat sets the foam, making it stiff enough to spoon onto coffee. This method is excellent for travel or for making a single serving of foam for a macchiato.
Choosing the Best Milk for Frothing
The type of milk you use has a dramatic effect on the quality and stability of your foam. Fat content and protein structure are the key factors that determine how well milk froths.
Dairy Milk
Whole milk is the gold standard for frothing. Its balanced fat content creates rich, creamy foam with a smooth mouthfeel. 2% milk produces a slightly lighter foam with good volume. Skim milk creates a very stiff, large-bubbled foam that is airy but lacks the creamy texture of whole milk. It is a good option if you want a stiff, airy foam with less fat.
Plant-Based Milks
Standard almond, soy, and oat milks can be difficult to froth because they lack the protein structure of dairy milk. They often separate or produce thin, watery foam. Barista-style plant milks are formulated specifically for frothing. They contain added stabilizers and fats that mimic the behavior of dairy milk. Oat milk barista blends are particularly popular for their neutral flavor and ability to produce dense microfoam. Soy barista blends are also reliable and create a creamy texture.
| Milk Type | Foam Quality | Creaminess | Best For |
|---|---|---|---|
| Whole Milk | Excellent | High | Lattes, Cappuccinos |
| 2% Milk | Good | Medium | Lattes |
| Skim Milk | Good (stiff) | Low | Macchiatos |
| Oat Milk (Barista) | Good | Medium | Lattes, Flat Whites |
| Soy Milk (Barista) | Good | Medium | Lattes, Cappuccinos |
How to Heat Milk Without Scalding
Heating milk properly is just as important as frothing it. Milk proteins begin to break down and scorch if the milk gets too hot. A common rule of thumb is to heat milk until it is steaming and hot to the touch, but not boiling. If you see bubbles forming at the edges or a skin developing on the surface, the milk is too hot. For precise results, use a thermometer and aim for roughly 140°F to 155°F; much hotter, and milk loses sweetness and can scorch. While you focus on the milk, an electric kettle can efficiently heat water for your coffee or tea, ensuring both components of your drink are ready at the same time. If using a stovetop, a heavy-bottomed saucepan distributes heat evenly and reduces the risk of scorching the milk.
Latte vs. Cappuccino Foam
The difference between a latte and a cappuccino comes down to the amount and texture of the foam.
Latte foam is a thin layer of microfoam, about half an inch thick. The milk is stretched just enough to create tiny, uniform bubbles that integrate smoothly with the espresso. The goal is a velvety texture that allows for latte art. The foam should pour seamlessly into the coffee.
Cappuccino foam is thicker and stiffer. More air is incorporated during the stretching phase, creating larger bubbles and a denser foam that sits proudly on top of the drink. A classic cappuccino has equal parts espresso, steamed milk, and foam. The foam should be spoonable and hold its shape.
Flat whites use the least foam, featuring a very thin layer of microfoam with no separate dry foam. Macchiatos are traditionally a dollop of stiff foam spooned onto a shot of espresso. Understanding these differences helps you adjust your frothing technique for the specific drink you want to make.
FAQ
Can I froth cold milk?
Yes. Most electric frothers have a cold froth setting specifically for iced coffee drinks. Cold milk does not incorporate air as easily as warm milk, but it can still produce a foamy texture. For handheld frothers, it is best to warm the milk first for the best volume and stability.
Why won’t my plant milk froth?
Standard plant milks often lack the protein and fat content needed to create stable foam. Look for cartons labeled “barista blend” or “barista edition.” These products are engineered to froth well and resist separating when added to hot coffee. Shake the carton well before use, as plant milks can separate during storage.
How do I clean my milk frother?
Always clean your frother immediately after use to prevent milk residue from baking on. For handheld wands, rinse the whisk under hot water and wipe the shaft. For electric jugs, rinse the interior and wipe the whisk attachment. Most non-stick interiors can be wiped clean with a soft sponge. Avoid abrasive cleaners that can scratch the coating. Check the manufacturer’s instructions for dishwasher safety.
Can I reheat frothed milk?
Reheating frothed milk will cause the foam to collapse and the texture to become thin and watery. It is best to froth only the amount of milk you need for a single drink. If you have leftover frothed milk, it can be used in cooking or added to cold coffee, but it will not re-froth successfully.
What is the best container for frothing milk with a handheld wand?
A narrow, tall container works best. A stainless steel frothing pitcher is ideal, but a large glass measuring cup also works well. The narrow shape concentrates the action of the wand and prevents splashing. Avoid wide, shallow bowls.
Mastering milk frothing at home is a skill that transforms your daily coffee routine. Whether you choose a simple handheld frother or practice with a steam wand, the key is using fresh, cold milk and heating it to the right temperature. With a little practice, you will be able to create the perfect foam for lattes, cappuccinos, and flat whites without leaving your kitchen.