Decorating cakes and cookies at home is a rewarding way to add a personal touch to holiday treats. For beginners, the process can feel overwhelming with all the tools, icings, and techniques available. This guide covers the essential basics you need to start decorating with confidence, from choosing the right equipment to mastering simple frosting methods and working with kids.
Tools to Start With
You do not need a full professional kit to begin decorating cakes and cookies. A few basic tools make the job much easier and give you cleaner results. The most important item is an offset spatula. This angled metal blade helps you spread frosting smoothly and reach the edges of a cake without your hand getting in the way. Look for a medium-sized offset spatula, about eight inches long, which works for both cakes and cookies. offset spatulas are widely available and a worthwhile investment.
Piping bags and tips are another essential. Disposable plastic piping bags are convenient for beginners because they require no cleaning. Reusable cloth or silicone bags are also fine if you prefer less waste. A set of basic round and star tips will let you write messages, make rosettes, and pipe borders. piping bags and tips come in starter kits that include a few tips and couplers. A coupler lets you switch tips without changing the bag, which is very handy when you are learning.
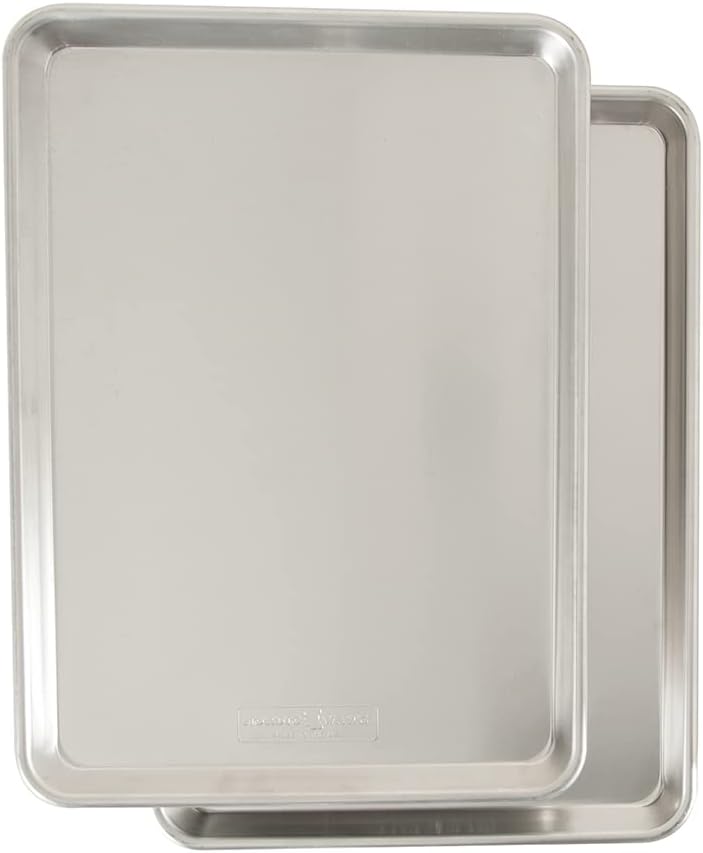
Other useful tools include a turntable for rotating a cake while frosting, a bench scraper for smoothing sides, and a small pair of scissors for snipping the tip of a piping bag. For cookies, you will want a sturdy baking sheet. A rimmed baking sheet prevents cookies from sliding off and makes transferring easy. A cooling rack is also necessary for letting cookies dry completely before decorating.
Frosting a Cake: Crumb Coat and Finish
One of the first skills to learn is how to frost a cake so that the final layer looks smooth and crumb-free. The key is a two-step process: a crumb coat followed by a final coat.
The Crumb Coat
A crumb coat is a thin layer of frosting applied to seal in crumbs. Start by placing your first cake layer on a turntable or plate. Spread a small amount of frosting on top, then add the second layer. Apply a thin layer of frosting all over the cake, covering the top and sides. Do not worry about making it perfect. The goal is to trap any loose crumbs so they do not show in the final coat. Use your offset spatula to spread the frosting evenly, then refrigerate the cake for about fifteen to thirty minutes until the crumb coat is firm. This sets the base and makes the next step much easier.
The Final Coat
Once the crumb coat is set, apply a thicker layer of frosting. Use a large offset spatula for the top and a straight or offset spatula for the sides. Hold the spatula at a slight angle and rotate the turntable slowly as you smooth the frosting. A bench scraper can help create perfectly straight sides. If you want a rustic, textured look, you can leave swirls and peaks. For a smooth finish, dip your spatula in hot water, dry it, and gently glide it over the frosting. The heat melts the surface slightly, leaving a polished sheen. Let the finished cake set in the refrigerator before adding any decorations.
Piping Basics
Piping is a versatile technique used for borders, rosettes, writing, and filling cookies. Start with a few simple shapes and practice on a piece of wax paper before decorating your cake or cookies.
Filling the Piping Bag
Fit your piping bag with a tip and coupler if using one. Fold the top of the bag over your hand to create a cuff. Use a spatula to fill the bag about halfway with frosting. Do not overfill, as it becomes hard to control. Unfold the cuff, twist the top of the bag closed, and squeeze gently to push the frosting down to the tip.
Basic Techniques
Hold the bag at a 45-degree angle to the surface. Apply steady pressure with your dominant hand while guiding the tip with your other hand. For a simple round dot, squeeze and stop, then lift straight up. For a star shape, use a star tip and squeeze while holding the bag steady, then release pressure and pull away. To pipe a border, keep the tip close to the surface and move in a continuous motion. Practice consistent pressure so the lines are even. If the frosting is too stiff, it will be hard to pipe; if too soft, it will lose its shape. Adjust by adding a little milk or powdered sugar to your buttercream as needed.
Royal Icing vs Buttercream
Choosing the right icing depends on what you are decorating. Two of the most common types for beginners are royal icing and buttercream. Each has distinct properties and best uses.
| Icing Type | Best For | Texture | Drying Time |
|---|---|---|---|
| Buttercream | Cakes, cupcakes, soft cookies | Creamy, rich, spreadable | Does not harden; stays soft |
| Royal Icing | Cookies, detailed piping, flooding | Smooth, dries hard and shiny | Dries within hours; fully hard overnight |
Buttercream
Buttercream is made from butter, powdered sugar, and a liquid such as milk or cream. It is easy to make with a stand mixer or hand mixer. Buttercream is forgiving and can be colored or flavored easily. It stays soft at room temperature, so it is ideal for cakes that will be eaten within a day or two. For cookies, buttercream works well for spreading or piping simple designs, but it will not harden completely, so stacked cookies may smudge.
Royal Icing
Royal icing is made from powdered sugar, meringue powder, and water. It dries to a hard, smooth finish, making it perfect for decorated cookies that need to be stacked or packaged. Traditional royal icing recipes sometimes call for raw egg whites, but for safety it is strongly recommended to use meringue powder instead. Meringue powder is pasteurized and eliminates the risk of salmonella from raw eggs. It also produces consistent results. Royal icing can be thinned to a “flood” consistency for filling large areas, or kept thick for piping outlines and details. Let decorated cookies dry completely, usually overnight, before handling or storing.
Color: Gel vs Liquid Food Coloring
Adding color to your icing opens up endless creative possibilities. However, the type of food coloring you use matters for the consistency and final look of your frosting.
Liquid Food Coloring
Liquid food coloring is the standard type found in most grocery stores. It is water-based and comes in small dropper bottles. While convenient, liquid coloring can thin out your icing because it adds extra liquid. This is especially problematic for royal icing, which requires precise consistency for piping and flooding. For buttercream, a few drops of liquid coloring are usually fine, but you may need many drops to achieve deep shades, which can make the frosting too soft.
Gel Food Coloring
Gel food coloring is thicker and more concentrated than liquid. It comes in small pots or squeeze bottles. Because it contains little to no added water, it does not alter the consistency of your icing. You only need a tiny amount to reach vibrant colors. Gel colors are ideal for both buttercream and royal icing. They are available in a wide range of shades and can be mixed to create custom colors. For beginners, a basic set of gel colors (red, blue, yellow, green, and black) is a good starting point. Add color a little at a time using a toothpick or the tip of a knife until you achieve the desired hue.
Decorating Cookies with Kids
Decorating cookies is a fun activity for children, but it requires some planning to keep it manageable and safe. Start with a simple sugar cookie recipe that holds its shape well. Use a sturdy baking sheet and let the cookies cool completely before decorating. If you are using royal icing, prepare it in advance and thin it to a flood consistency for easy spreading.
Set up a decorating station with bowls of icing in different colors, sprinkles, and small candies. Give each child a plate or a piece of wax paper to work on. Show them how to use a small offset spatula or a butter knife to spread icing. For piping, you can let older kids use a piping bag with a small round tip, but younger children may find it easier to use a squeeze bottle or a plastic bag with a tiny corner snipped off.
Keep decorations simple: a single color of icing with sprinkles on top is plenty for little hands. Avoid using very small candies that could be a choking hazard for very young children. Let the decorated cookies dry on a cooling rack before stacking or storing. If you are using buttercream, the cookies will stay soft, so store them in a single layer. With royal icing, the cookies can be stacked once the icing is fully hard.
For cleanup, have wet wipes or a damp cloth ready. Involve kids in the process by letting them choose colors and sprinkle combinations. The goal is to have fun, not perfection. Even messy cookies taste delicious.
FAQ
Do I need a turntable to frost a cake?
A turntable is not strictly necessary, but it makes frosting a cake much easier. It allows you to rotate the cake smoothly while keeping your spatula steady. If you do not have one, you can place the cake on a plate and turn it by hand, but the results may be less even.
Can I use buttercream for flooding cookies?
Buttercream is not ideal for flooding because it does not dry hard and will remain soft. Royal icing is the standard choice for flooding cookies because it sets firm and creates a smooth, glossy surface. If you prefer buttercream, you can pipe it in a thin layer, but the cookies will not be stackable.
How long should royal icing cookies dry?
Royal icing cookies should dry for at least several hours, but overnight is best for a fully hard finish. The drying time depends on the thickness of the icing and the humidity in your kitchen. Place the cookies on a cooling rack in a dry area away from direct heat or moisture.
Is it safe to use raw egg whites in royal icing?
Using raw egg whites carries a risk of salmonella contamination. For safety, it is recommended to use meringue powder, which is pasteurized and produces the same results. Meringue powder is widely available and easy to use. Always follow the manufacturer’s instructions for the correct ratio of powder to water.
Start with the basics and practice a little at a time. With the right tools and a bit of patience, you will soon be decorating cakes and cookies that look as good as they taste. Focus on enjoying the process, and your skills will grow naturally with each batch.