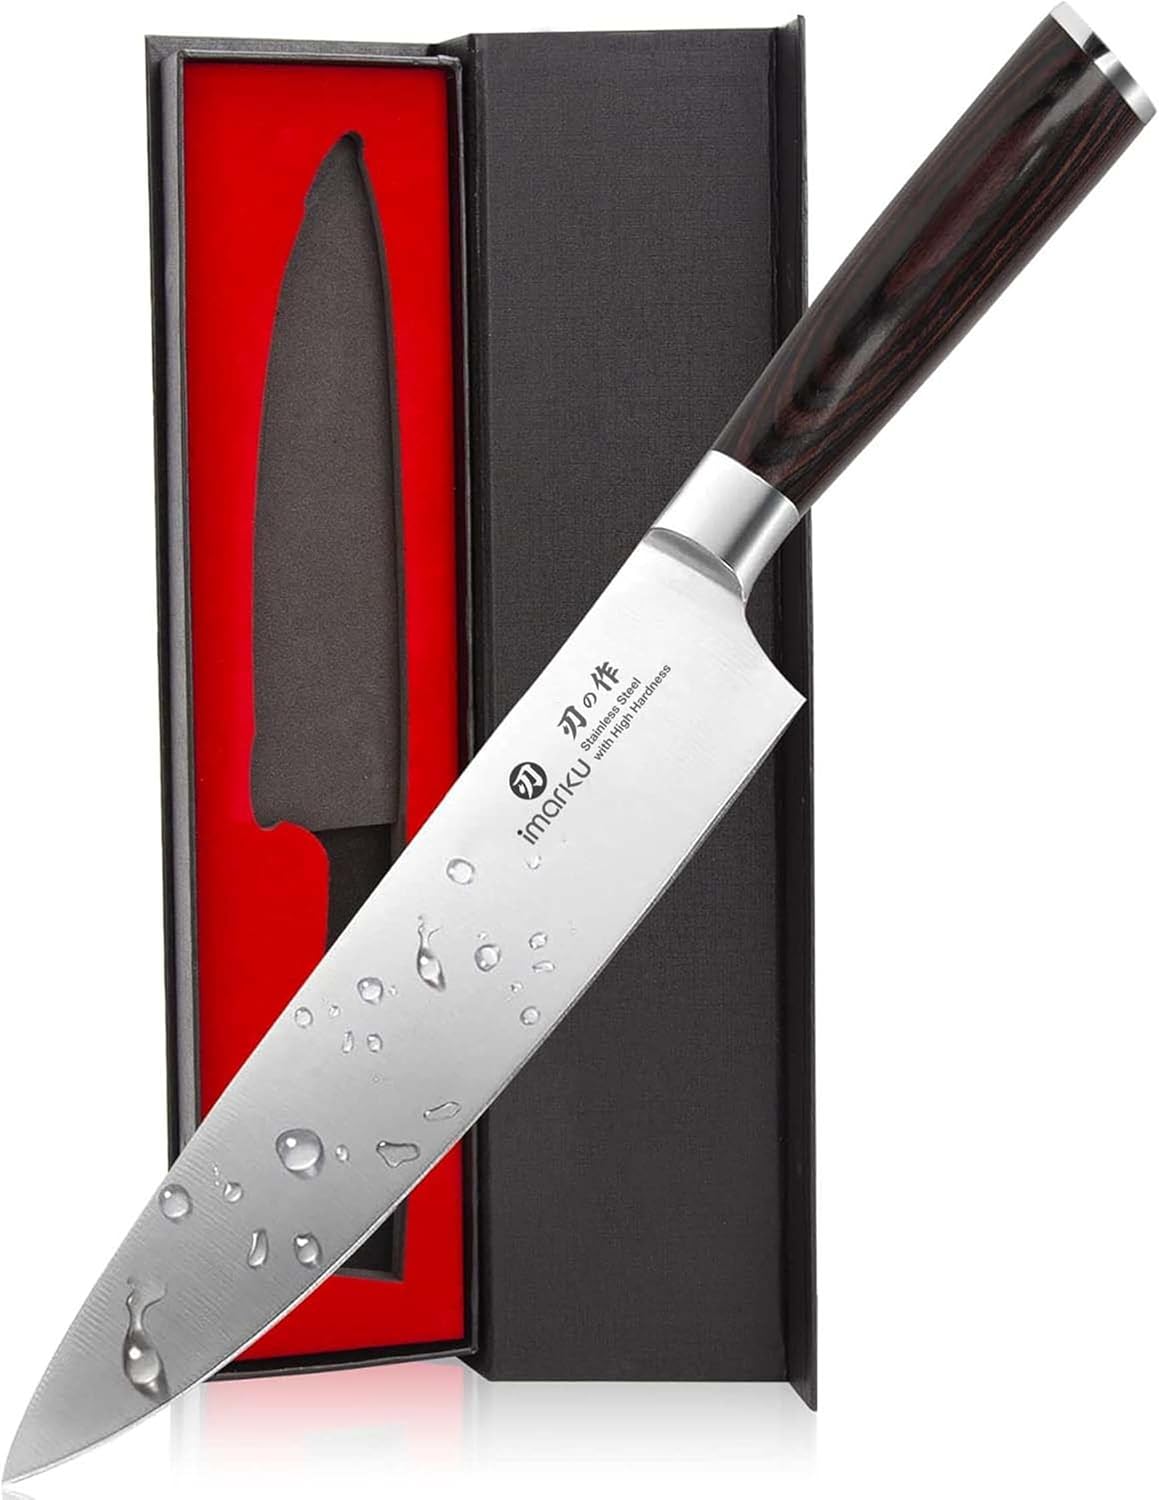
A sharp kitchen knife is safer and easier to handle than a dull one, and keeping it sharp comes down to two different tasks: honing and sharpening. Honing straightens a blade edge that has rolled slightly during normal use, while sharpening removes a thin layer of metal to create a completely fresh edge. This guide covers how to do both, how to keep the blade at a consistent angle, how to test the edge safely, and how to protect it in daily use.
Before starting, it helps to know what kind of steel your knives use and what edge they were designed for. The kitchen knives guide explains the differences between common blade types. A quick look will help you choose the right honing rod and whetstone for your set.
Honing versus Sharpening: What Each Step Does
When you use a knife, the very edge of the blade bends or rolls to one side even if you cannot see it. The edge is still there; it is just no longer aligned. Honing pushes the edge back to center so the blade cuts cleanly again. It does not remove much metal.
Sharpening is a different process. Over time, the rolled edge becomes too deformed, or the blade develops small chips and dull spots, and simply straightening it is not enough. Sharpening grinds away a tiny amount of metal from each side of the edge to expose fresh steel. After sharpening, the blade should be honed lightly to remove any remaining burr and align the final edge.
Here is a quick comparison:
| Honing | Sharpening |
|---|---|
| Straightens an edge that has rolled or bent | Removes a thin layer of metal to form a new edge |
| Use a honing rod | Use a whetstone or pull-through sharpener |
| Do often during regular use | Do when honing no longer restores the edge |
| Does not remove much metal | Removes a small amount of metal each time |
As a simple routine, hone regularly and sharpen when honing stops doing the job. For most cooks, a few passes on a honing rod before each major meal prep session is enough, and an occasional sharpening session on a whetstone keeps the edge alive for a long time.
What You Need
You do not need an elaborate setup. The essentials are a honing rod, a whetstone, and a stable surface with a damp towel under the stone. A pull-through sharpener is optional, but it can be convenient for quick touch-ups when you are short on time.
- A honing rod for regular edge alignment. Choose one with a smooth surface or a very fine texture; avoid overly aggressive rods for everyday use.
- A whetstone with two grit sides, usually a medium side and a fine side, for sharpening. The next section explains how to use it.
- A pull-through sharpener if you prefer a simple, guided option. These work best on standard Western-style knives.
- A clean kitchen towel to support the stone or rod and to wipe the blade after sharpening.
- A cutting board made of wood or plastic. A hard surface such as glass, stone, or ceramic will dull the edge quickly.
If you want to round out your collection, the kitchen tools guide covers other basics you might need for holiday cooking. For knife care specifically, the tools above are the only real requirements.
How to Use a Honing Rod
Hold the rod vertically with the tip resting firmly on a towel or cutting board, so it does not slip. Hold the knife in your other hand with the heel of the blade against the top of the rod, near the handle of the rod. Tilt the blade so it meets the rod at a comfortable, consistent angle. A common guideline for Western knives is about 15 to 20 degrees on each side.
- Start with the heel of the blade against the rod, pulling the blade down and toward you in a smooth sweeping motion so the whole edge passes over the rod and ends at the tip.
- Repeat the same motion on the other side of the rod, using the same angle and starting again at the heel.
- Alternate sides for each stroke or do one side and then the other in equal counts. Five to ten strokes per side is usually enough for a knife that is already fairly sharp.
- Use light, even pressure. Let the rod do the work; pressing hard can roll the edge more or chip it.
- Wipe the blade with a towel afterward to remove any fine metal dust.
Some rods have a curved or oval shape and others are flat; the same technique applies. If the knife has a distinctive edge angle, check the manufacturer’s recommendation or start with a fairly shallow angle and adjust. Consistency matters more than hitting an exact number of degrees.
Whetstone Basics
For a knife that is no longer cutting well, a whetstone is the most reliable way to sharpen it. Most whetstones need to be soaked in water before use, though some require only a splash. Always read the instructions that come with your stone, because soaking times and surfaces vary by model.
Place the stone on a damp towel so it stays still during sharpening. Whetstones are sold in various grits, but a combination stone with a medium side and a fine side is a good starting point for most home cooks. Use the medium side to set a new edge and the fine side to polish it.
- Soak the stone according to the manufacturer’s instructions, then set it on the towel.
- Hold the knife with one hand on the handle and the other near the blade, keeping the edge at a steady angle.
- Push the blade away from you across the stone, moving from the heel toward the tip, so every part of the edge passes over the stone.
- Repeat on the other side, pulling the blade toward you, again from heel to tip.
- Continue in a regular pattern, using moderate pressure on the coarse side, until you feel a small burr along the edge. A burr is a slight rough lip that forms on the opposite side when the two edge faces meet.
- Flip the knife and repeat on the other side to remove that burr, then switch to the fine side and make light passes to polish the edge.
- Rinse the blade and stone, dry both, and wipe away any metal particles.
If you are new to whetstones, practice on a knife you do not mind dulling a little. You will quickly learn how the blade feels as it glides over the stone, and that feel becomes your guide.
Using a Pull-Through Sharpener
A pull-through sharpener is the easiest method for beginners or for quick touch-ups between full sharpening sessions. It has preset slots that hold the knife at a fixed angle while you draw the blade through. This removes the guesswork from angle control, but it also removes more metal than a whetstone if used too often.
To use one, set the sharpener on a stable surface, hold the handle of the knife, and draw the blade through the coarse slot first if the knife is quite dull, following the manufacturer’s instructions. Then use the fine slot several times to polish the edge. Always pull the blade toward you, never push it, and never force it through.
Pull-through sharpeners are most suitable for standard Western-style knives. Very hard or thin-edged Japanese-style blades may chip or fracture in a pull-through device. If you are unsure, check the knife manufacturer’s guidance before using one.
How to Keep a Consistent Angle
The single most important part of sharpening is keeping the blade at the same angle on both sides. If the angle changes from stroke to stroke, you will sharpen unevenly, round the edge, or create a longer bevel on one side.
Here are a few ways to hold a steady angle:
- Keep your thumb or fingers resting gently on the spine of the blade as a reference point.
- Use your elbow and shoulder for the motion, not just your wrist, to avoid changing the tilt mid-stroke.
- Imagine the blade lying flat on a ruler tilted at the same angle; keep that mental image while you work.
- Use an angle guide, a small wedge-shaped accessory that clips to the blade, if you want external help. These are inexpensive and useful for beginners.
- Mark the edge with a fine permanent marker before sharpening. The ink will wear off on the stone in the areas that are being ground, showing you exactly where your angle is hitting.
The exact angle is less important than being consistent. A household cook who sharpens at a slightly steeper angle than a professional will still get a functional edge as long as both sides match.
How to Test Sharpness Safely
Testing a blade should never involve running your finger along the edge toward the blade. A safer way is to test on paper or food. Here are the most practical methods:
- Hold a sheet of paper with one hand and draw the knife down through it, from heel to tip, without sawing. A sharp knife slices through cleanly with light pressure; a dull one tears or stops.
- Slice a ripe tomato crosswise. A sharp blade cuts the skin without squashing the tomato. A dull blade will flatten the fruit before breaking through.
- Look closely at the edge under good lighting. A sharp edge has a thin, even reflective line that is uniform along the blade. Chips or shiny spots show dull areas.
If you sharpen well and the knife still tears through paper, it may need more passes on the stone or a coarser grit. Keep testing between stages, but always set the knife down before you adjust your grip or reach for something else. Even with a sharp knife, some tasks call for the right tool; for example, a good peeler handles delicate skins more efficiently. See the peelers and graters guide for tips.
Common Mistakes
- Honing too aggressively. Too many strokes on a honing rod can actually round the edge. Use a handful of strokes per side, not dozens, and stop when the blade feels crisp.
- Letting the angle wander. Holding the blade too steep leaves a blunt edge, while holding it too flat can leave a thin edge that chips; pick an angle and keep it steady.
- Applying too much pressure on the stone. Let the abrasive do the work; heavy force removes metal unevenly and can damage the blade.
- Washing knives in the dishwasher. The heat, water, and detergent dull a blade and can loosen the handle. Wash kitchen knives by hand and dry them right away.
- Storing knives loose in a drawer. Blades knock against other utensils and lose their edge. Use a knife block, magnetic strip, or blade guards.
- Using a pull-through sharpener too often. Because it removes metal quickly, overuse can shorten the life of a good knife.
Most sharpening problems come down to these six habits. Fix them and your knives will stay noticeably sharper for longer.
Cutting Boards and Edge Protection
The surface you cut on affects the edge as much as the sharpening method. Hard materials like glass, ceramic, granite, and some stone composite boards will dull a knife nearly immediately because they are harder than the steel. Even if they look nice, they are poor choices for everyday cooking.
Wood and plastic cutting boards are softer than knife steel, so the edge sinks in slightly instead of rolling against a hard surface. End-grain wood boards are especially gentle on blades, and plastic boards are easy to clean and sanitize. Avoid cutting directly on metal trays, plates, or stone countertops.
Beyond the board, store knives where they cannot rub against other objects. A slot in a knife block, a magnetic strip on the wall, or a plastic blade guard all work well. Always wash knives by hand with mild soap and dry them before storing. A well-cared-for blade will go much longer between sharpening sessions.
Troubleshooting
If your knife still will not cut after honing, it probably needs actual sharpening. Move to a whetstone or pull-through sharpener and work through the edge again.
If the blade has visible nicks or chips, a standard honing rod will not fix them. Use the coarse side of a whetstone to grind past the damage, then use the fine side. For very deep chips, a professional sharpening service is the safer choice, especially for expensive knives.
If you do not feel a burr after working on a whetstone, check your angle. Many beginners hold the blade too flat, so only the shoulders of the edge touch the stone. Raise the blade slightly and keep your hand steady. It can also help to spend more time on each side so the two bevels actually meet.
If a pull-through sharpener no longer improves the edge, the knife may have a bevel that does not match the preset slots, or the edge may be too damaged. At that point, a whetstone is the better tool.
FAQ
How often should you hone a knife?
Hone when you notice the blade starting to feel less crisp, or as a regular ritual before a big cooking session. For many cooks, that means a few strokes on a honing rod every time you pull the knife out for serious prep, and a full sharpening when honing stops making a difference.
Can you sharpen serrated knives?
Serrated knives need a different approach because the cutting edge is a series of small points and valleys. A tapered sharpening rod that matches the size of the serrations works best, and you sharpen the pointed side of the blade only. If you are not comfortable doing this, a professional service is a good option. Most serrated knives do not need sharpening often.
Do pull-through sharpeners damage knives?
They can if you use them too aggressively, because they remove more metal than a whetstone and many keep the blade at a fixed angle that may not match the knife’s original bevel. Used occasionally and according to the manufacturer’s instructions, they are fine for standard Western-style knives. For high-end or hard-steel blades, a whetstone gives you more control.
How do you know which sharpening angle to use?
Check the knife manufacturer’s instructions first. As a general rule, Western-style knives usually work well with a 15 to 20 degree angle per side, while many Japanese-style knives use a narrower angle, and some are sharpened on one side only. If you are unsure, a consistent angle on both sides is more important than chasing an exact number.
A sharp knife makes holiday cooking faster, safer, and more enjoyable. Make honing a regular habit, sharpen with a whetstone when the edge fades, test the blade safely on food or paper, and protect the edge with a soft cutting board and careful storage. With this routine, your kitchen knives will be ready for every prep task that comes their way.