By Emily Parker
Updated November 2026
Easy pretty Christmas cookies come down to three things: a dough that holds its shape, a simple decorating method, and a plan that spreads the work over a few days. This guide walks you through each step so you can bake a tray of cookies that look festive without special skills. Most of the work is in the chilling and cooling, not the hands-on decorating.
Choose a Dough and Shape That Hold Their Form
Start with a basic sugar cookie or butter cookie dough, which keeps sharp edges better than a drop cookie. Cut your dough into shapes such as stars, trees or snowflakes, and chill the cut cookies for 10 to 15 minutes before they go into the oven. Chilling is the step most people skip, and it is the main reason cookies spread into blobs.
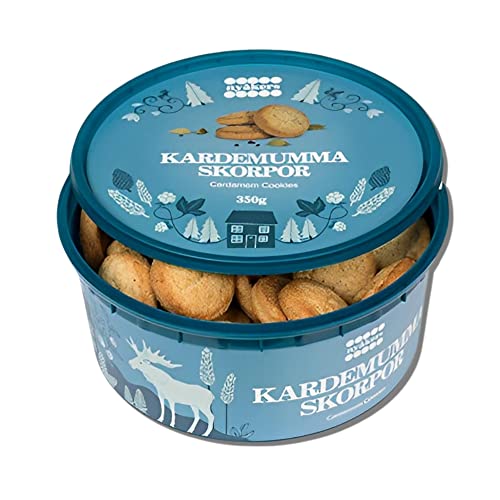
Shopping for one? See our guide: 6 Best Christmas Boxes for Cookies to Gift and Store (2026).
Roll dough to an even thickness of about 1/4 inch. Uneven dough bakes unevenly, so use rolling guides or two matching dowels if you have them.
Bake for Even Color and Clean Edges
Preheat your oven fully and bake on the center rack. Most sugar cookies bake at 350°F for 7 to 9 minutes, and they are done when the edges are just barely golden. Pull them while the centers still look slightly soft; they firm up on the pan.
- Line baking sheets with parchment or silicone mats.
- Space cookies about 2 inches apart.
- Rotate the pan halfway through baking if your oven runs hot.
- Cool on the pan for 2 minutes, then move to a wire rack.
Decorate with Simple Royal Icing and Sprinkles
For clean, pretty results, use a thin royal icing for outlining and a thicker icing for flooding the centers. Pipe a border first, let it set for about 10 minutes, then fill the inside. Add sprinkles or edible glitter while the icing is still wet so they stick.
Quick Decorating Tools
| Task | What to Use |
|---|---|
| Outlining | Thin icing in a piping bag with a small round tip |
| Flooding | Thicker icing in a squeeze bottle or bag |
| Adding texture | Sprinkles, nonpareils or edible glitter |
| Smoothing | A toothpick to pop bubbles |
Plan Your Baking Timeline
Spread the work over two or three days. Make the dough a day ahead and refrigerate it wrapped tightly. Bake and cool cookies the next day, then decorate once the cookies are fully cool. Icing applied to warm cookies will melt and run. If you are looking for more ideas, Prettiest Christmas Cookies Recipes: 6 Designs and Step-by-Step Methods shows several decorating styles, and Sugar Christmas Cookies with Sprinkles: A Step-by-Step Guide covers sprinkle-heavy designs in more detail.
Common Mistakes
- Skipping the chill step, which causes spreading.
- Rolling dough too thin, which makes cookies brittle.
- Icing cookies before they cool completely.
- Overmixing the dough, which toughens the texture.
- Using icing that is too runny for outlines.
Recommended Gear
A sturdy set of cookie cutters in a few classic shapes makes cutting clean and repeatable. View on Amazon
Parchment-lined half sheet pans help cookies bake evenly and release cleanly. View on Amazon
Disposable piping bags make icing and cleanup much simpler for beginners. View on Amazon
FAQ
Do I need royal icing to make pretty Christmas cookies?
No. Simple glazes or a thin powdered-sugar icing can look festive, though royal icing gives sharper edges and dries hard enough to stack.
How far ahead can I make the cookies?
Baked, unfrosted sugar cookies keep well in an airtight container for about one week at room temperature. Decorate closer to the day you plan to serve them.
Why do my cut-out cookies lose their shape?
The most common cause is warm dough. Chill the dough and the cut shapes before baking, and make sure the oven is fully preheated.
Conclusion
Easy pretty Christmas cookies depend on chilled dough, careful baking and icing applied to fully cooled cookies. Following a simple timeline lets you spread the work across several days. Start with one shape and one decorating method, then add more designs as you gain confidence.
Related reading
- Winter Wonderland Chocolate Chip Christmas Cookies: A Step-by-Step Guide
- Vegan Cookies for Christmas: A Step-by-Step Guide to Holiday Baking
- Unique Cookies for Christmas: 7 Creative Ideas and How to Bake Them
Ready to choose one?
About Emily Parker
Emily Parker is part of our editorial team and reviews and edits our holiday cooking & baking guides, checking product details against manufacturer specifications and owner feedback.